BATCAM FX Web Software Update
BATCAM FX Firmware Update (via Web)
1. Overview
This guide explains how to update the BATCAM FX firmware (.swu file) using only a web browser, with no additional tools to install. BATCAM FX hosts a firmware update web page on the device itself, so you can update it simply by uploading the firmware file from your browser. Some features, such as the overlay and ROS-related REST APIs, are only available on firmware 1.0.3 or later, so we recommend keeping the firmware up to date.
The overall procedure consists of the following four steps.
-
Access the firmware update page in a browser
-
Upload the firmware file and run the update
-
Wait for the automatic reboot after the update completes
-
Verify the update result (firmware version)
⚠️ Caution: Do not power off the device or disconnect the network while the update is in progress. The device reboots automatically when the update completes.
💡 Note: To update from a terminal (
scp·ssh), see BATCAM FX Shell Software Update. BATCAM FX2 is updated in Device Manager with a different file format (.mender), so follow the FX2 Software Update document instead.
2. Prerequisites
-
Firmware file (
.swu): Prepare the firmware file to install on your work PC. The file name follows theSMI-BATCAMFX-<version>-signed-<build-timestamp>.swuformat. (Example:SMI-BATCAMFX-v1.0.3b-signed-20250502102525.swu) For the changes in each version, see the FX Firmware Release Notes. -
Device IP address: You must know the IP address of the BATCAM FX. This document writes it as
{CAMERA_IP}; replace it with the actual IP address in your environment. -
Network connection: The work PC and the BATCAM FX must be able to communicate with each other on the same network.
-
Web browser: A web browser is required to access the firmware update page.
-
Account credentials: BATCAM FX comes with two preconfigured accounts:
admin,user. When an authentication prompt appears, use the credentials provided for the default accounts, or sign in with an account that has administrator privileges if you manage accounts. Be sure to change the factory default passwords before use.
3. Step 1 — Access the Firmware Update Page
-
Enter
http://{CAMERA_IP}/firmwarein the browser address bar to open the firmware update page.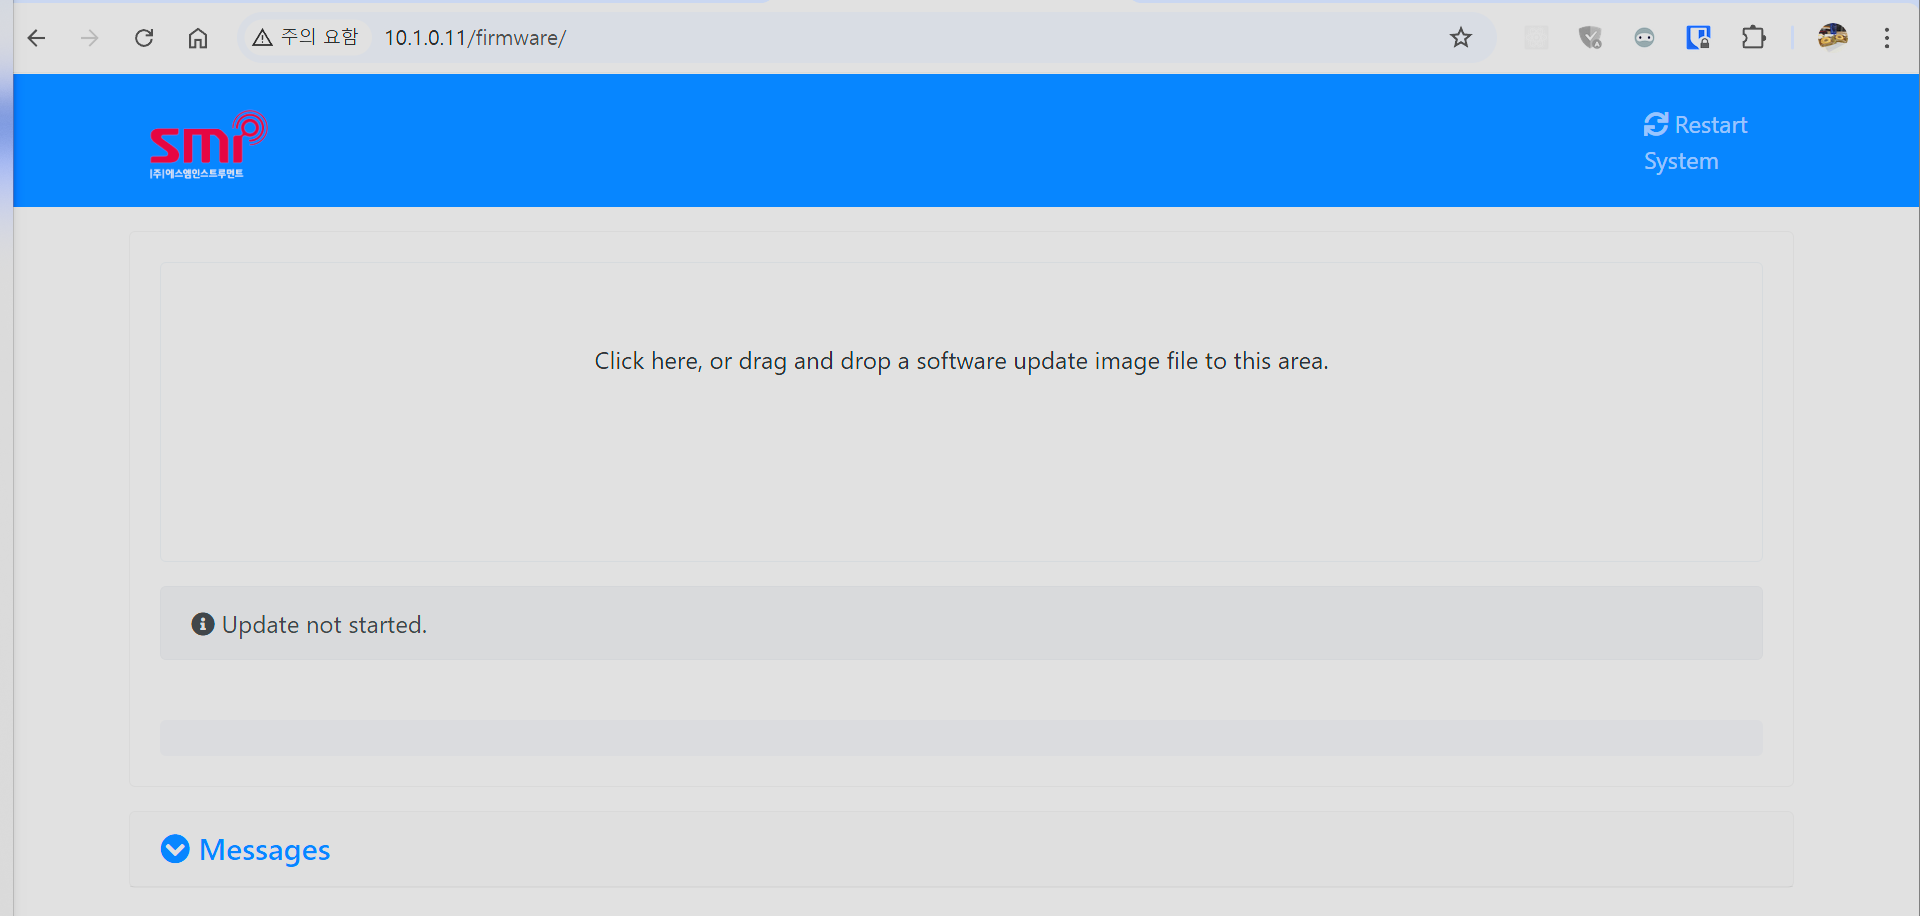
-
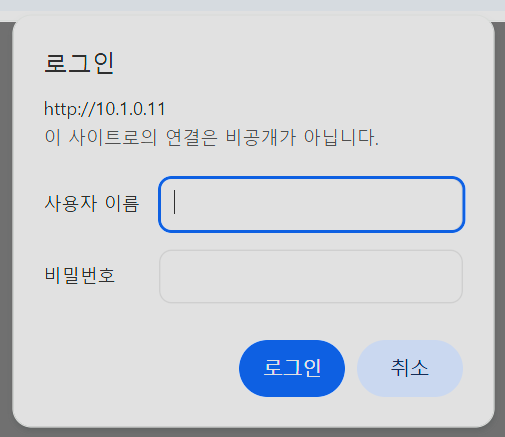
If authentication is required, the camera may ask for account credentials. In that case, use the credentials provided for the camera’s default accounts, or sign in with an account that has administrator privileges if you manage accounts.
The firmware update page consists of the following areas.
| Area | Display example | Description |
|---|---|---|
| Upload area | Click here, or drag and drop a software update image file to this area. | Empty space at the top of the page. Drag and drop the firmware file here, or click to select it. |
| Status banner | Update not started. / Updated successfully. | Shows the current update status. |
| Progress Bar | 2% (1 of 6) | Shows the name of the component currently being installed, its progress (%), and the current step out of the total steps. |
| Messages | Software Update started ! | Section that shows the update progress log. Use it to identify the cause when an error occurs. |
| Restart System | — | Device restart button at the top right of the page. |
4. Step 2 — Upload the Firmware File
-
Drag and drop the firmware file (
.swu) onto the upload area at the top, or click the empty space to select the firmware file.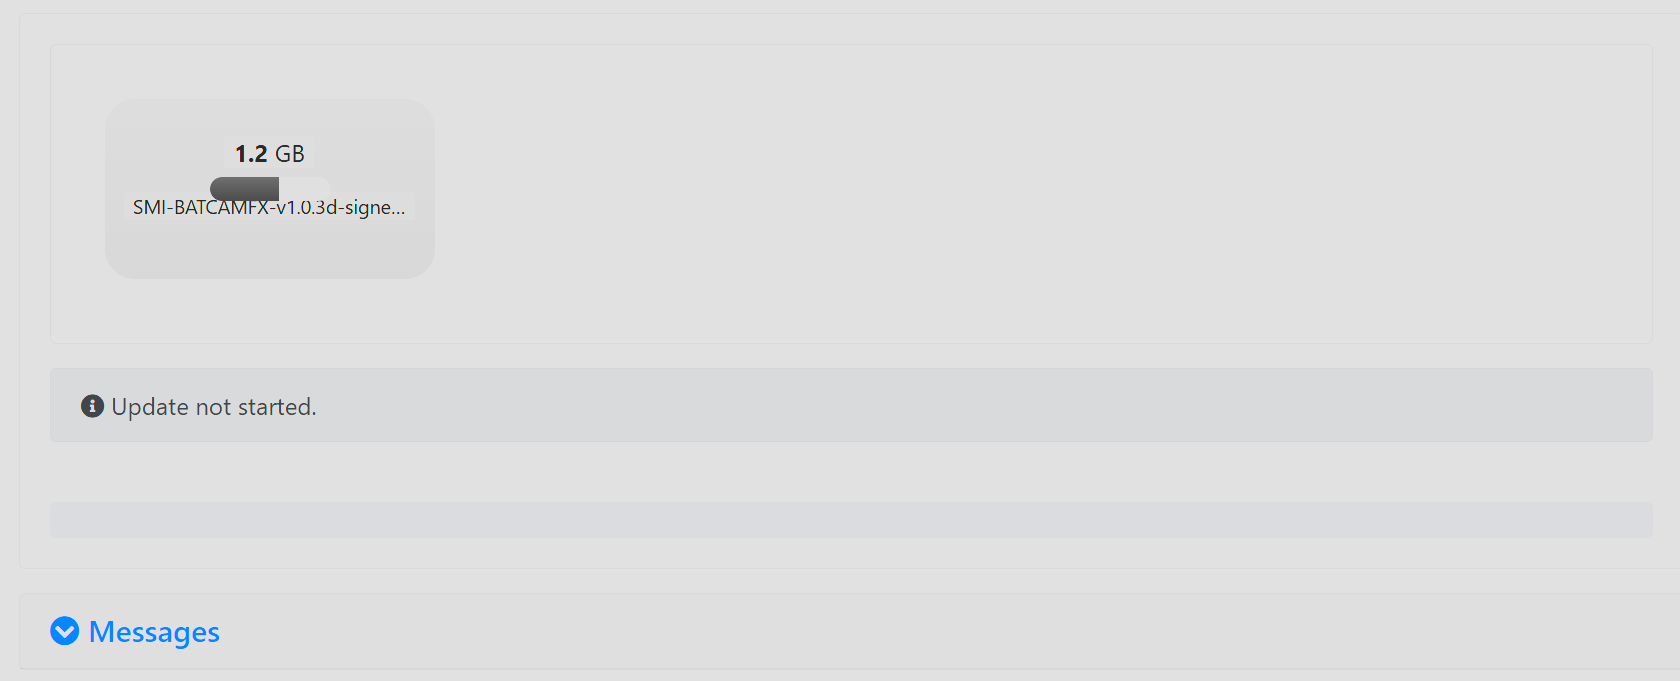
-
The update proceeds automatically, and intermediate results appear in the Progress Bar or the Messages section. Progress is shown in order for each component that makes up the firmware.
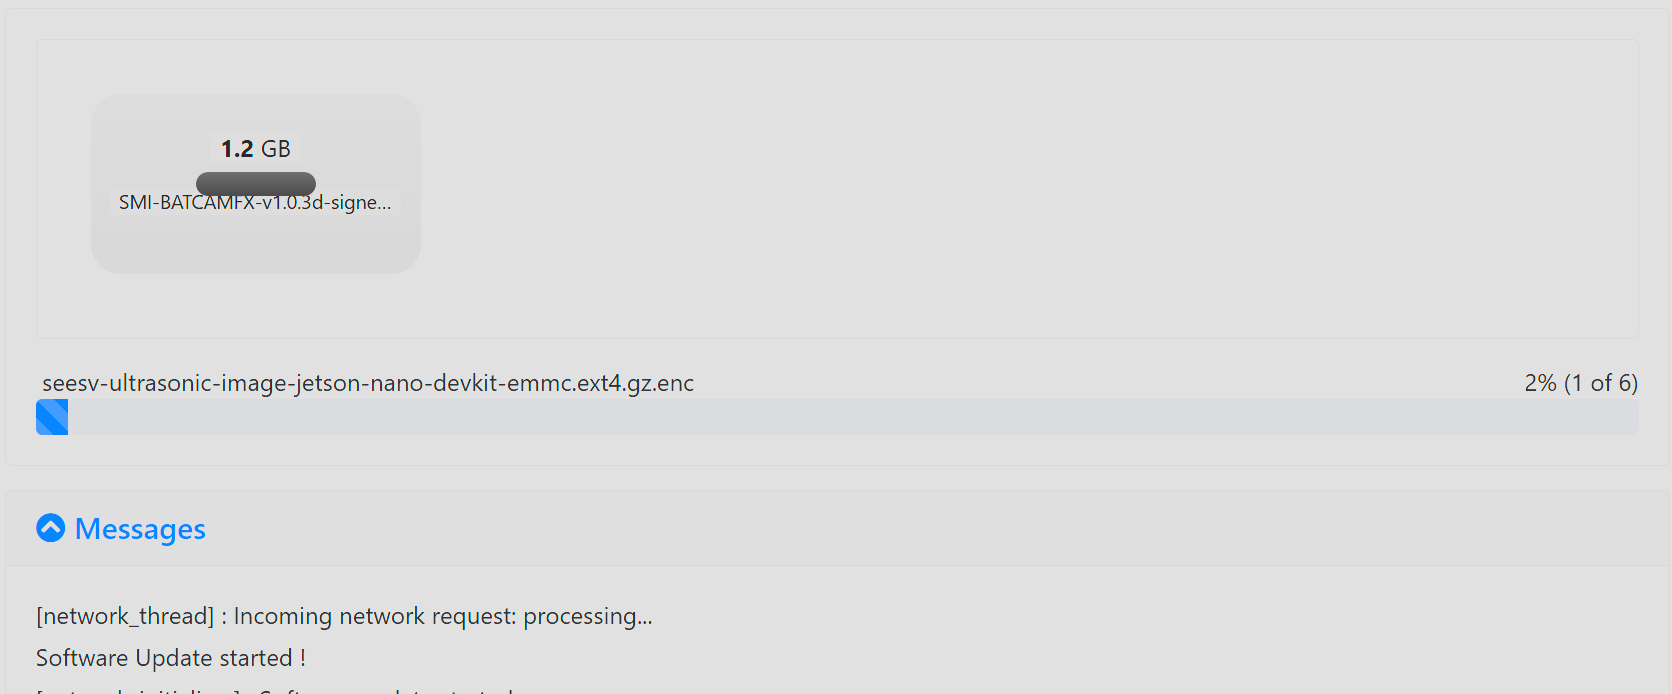
💡 Note: The firmware file is large (1.2 GB in the example screen), so uploading and installation may take a while depending on network conditions. Do not close the page until the update completes.
5. Step 3 — Wait for the Automatic Reboot
When the update completes, the status banner shows Updated successfully. and the camera reboots automatically. Restarting takes about one minute. (The system will restart. Please be patient, as restarting takes about one minute.)
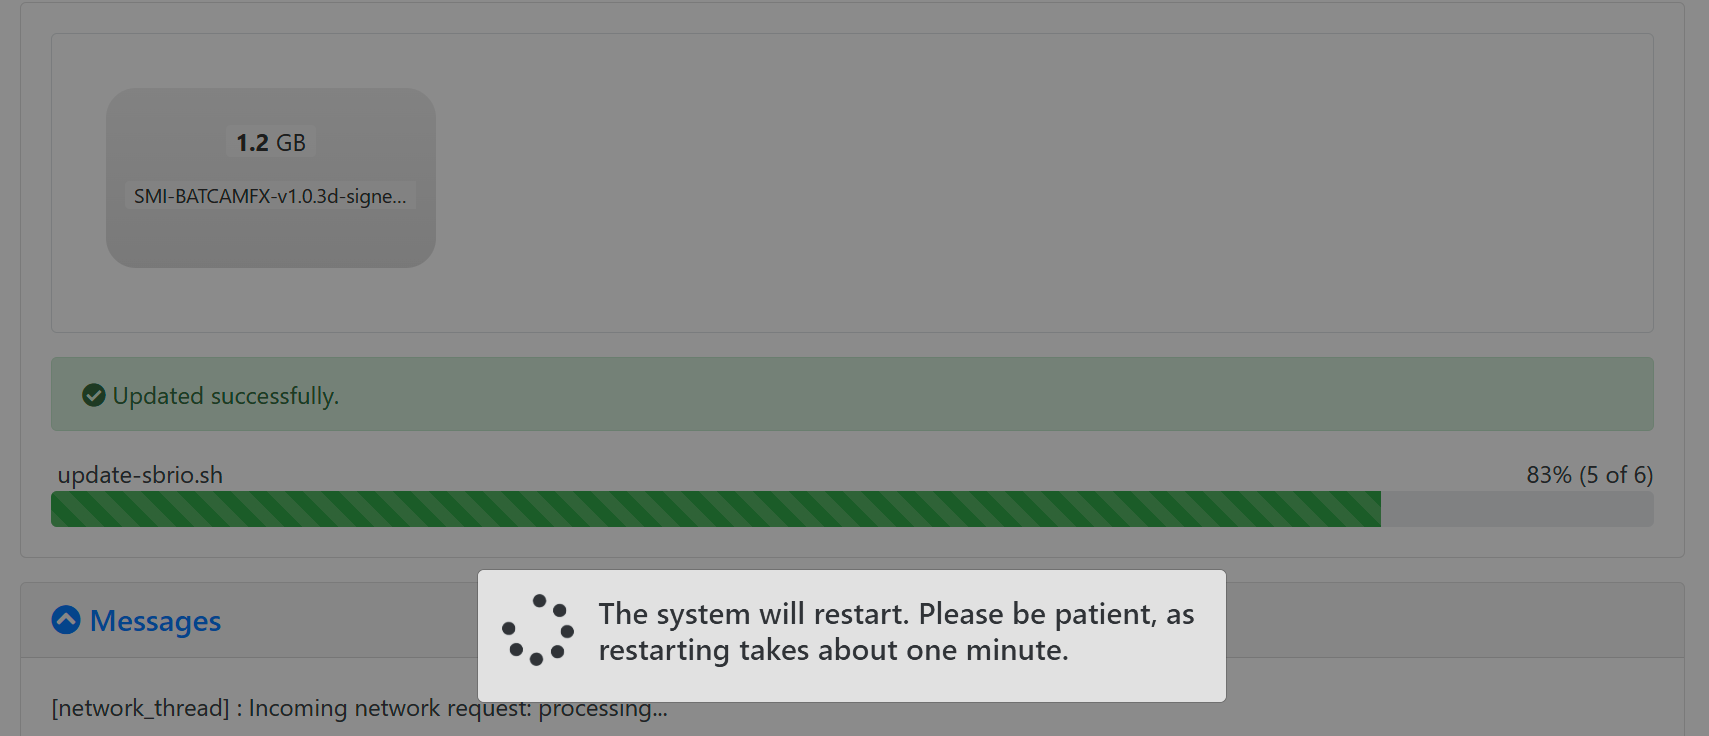
⚠️ Caution: If the camera is not in static IP mode, its IP address may change after the reboot.
6. Step 4 — Verify the Update Result
After the reboot completes, check the updated firmware version with the device status API (GET /setting/status). Enter http://{CAMERA_IP}/setting/status in the browser address bar to see a JSON response like the one below.

{"error": 0, "result": {"hardware_id": "276730383020104", "sbrio_version": "2.0.8", "firmware_version": "v1.0.3d"}}Each field in the response is described below.
| Field | Example value | Description |
|---|---|---|
error | 0 | Error code. 0 indicates a normal response. |
result.hardware_id | "276730383020104" | Device hardware ID (string) |
result.sbrio_version | "2.0.8" | SbRIO firmware version |
result.firmware_version | "v1.0.3d" | Device firmware version. If it matches the version of the firmware file you installed, the update completed successfully. |
This API uses HTTP Basic authentication, so you can also check it from a terminal as follows. For detailed request and response formats, see the BATCAM FX API Reference.
curl -u admin:<password> http://{CAMERA_IP}/setting/status7. Reference — Uploading Firmware via the REST API
Instead of the web page, you can also upload the firmware file directly via the REST API (POST /setting/firmware). Upload the firmware file (.swu) as a multipart/form-data request’s file field; the device then installs it with SWUpdate and may reboot after completion.
curl -u admin:<password> \ -F "file=@SMI-BATCAMFX-v1.0.3b-signed-20250502102525.swu" \ http://{CAMERA_IP}/setting/firmwareOn success, you receive a response like the following.
{"error": 0, "result": null}You can monitor the update progress log over the ws://{CAMERA_IP}/firmware/ws WebSocket. For the endpoint specification, see the BATCAM FX API Reference, in the setting group.
8. Troubleshooting
-
The firmware update page does not open:
-
Verify that the IP address entered in the address bar is the actual IP address of the BATCAM FX.
-
Verify that the work PC and the device are connected to the same network.
-
The update page path may differ depending on the firmware version. Firmware v1.0.2 changed the Firmware Update path (
{IP}/firmware→{IP}), so ifhttp://{CAMERA_IP}/firmwaredoes not work, tryhttp://{CAMERA_IP}as well (see the FX Firmware Release Notes).
-
-
Authentication keeps failing in the login prompt:
-
Verify that you are using the credentials provided for the default accounts (
admin,user). -
If accounts are managed in your environment, sign in with an account that has administrator privileges. If the password has been changed, use the updated password.
-
-
The update does not proceed or an error appears:
-
Check the log in the Messages section to identify the cause of the error.
-
Verify that the uploaded file is a BATCAM FX firmware file (
SMI-BATCAMFX-<version>-signed-<build-timestamp>.swu). -
The file may have been corrupted in transit; upload the firmware file again.
-
-
The device is unreachable after the reboot:
-
Restarting takes about one minute, so wait a moment and connect again.
-
If the device is not in static IP mode, its IP address may change after the reboot. Find the new IP address and connect again.
-
-
The version remains unchanged after the update:
-
You may have checked before the reboot finished; check again with
GET /setting/statusafter the reboot completes. -
If the previous version is still shown, repeat the procedure from Step 2 (uploading the firmware file).
-
9. Related Documents
-
BATCAM FX Shell Software Update — How to update from a terminal (
scp·ssh·swupdate) -
FX Firmware Release Notes — Changes in each firmware version
-
FX2 Software Update — How to update BATCAM FX2 devices (
.mender) -
BATCAM FX API Reference — REST API specifications for firmware upload (
POST /setting/firmware) and device status (GET /setting/status)